
Setting Personal Notifications
1. Log in to SimpleTexting at https://app2.simpletexting.com/auth using the credentials supplied by VinterActive
2. Click on the “user” icon located in the upper right-hand corner of the SimpleTexting admin control panel
3. Select the Profile menu
4. Click the Overview menu to confirm your full name, email address, and mobile phone number associated with your account. Edit these values as needed.
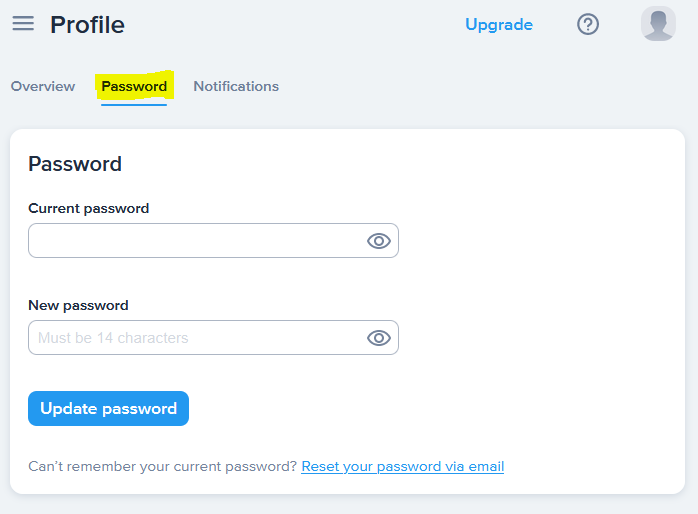
5. If you need to change your admin password, click the Password menu to reset your SimpleTexting password.
6. Click the Notifications menu to customize how SimpleTexting will notify you about incoming messages that might need your attention.
7. Select the Email menu to activate or deactivate email notifications sent to you whenever one of your SMS numbers receives a new message. If you have more than one SMS number, you can use this menu to specify which phone numbers will generate notifications sent to you.

8. Select the SMS menu to activate or deactivate text notifications sent to you whenever one of your SMS numbers receives a new message. If you have more than one SMS number, you can use this menu to specify which phone numbers will generate notifications sent to you.

9. Select the Desktop menu to activate or deactivate notifications through your web browser whenever one of your SMS numbers receives a new message or a new customer opts into your SMS program.
NOTE: automated browser notifications only work when a SimpleTexting.com tab is open.
